How to Reduce TV Glare Tonight (and for Good)
The fastest fix for TV glare is controlling your brightest light source and angling the screen so reflections bounce away from your eyes, not into them. Start there before you buy anything.
Tonight, try this in order: tilt or reposition the TV a few degrees, move or redirect the lamp that’s causing the hot spot, and add a soft bias light behind the screen. If glare keeps winning, especially from a sunny window, window film with a documented Visible Light Transmission (VLT) rating is your long-term answer.
- Tilt the TV downward slightly
- Redirect or dim the offending lamp
- Add bias lighting behind the screen
Pro Tip: Test your fix at the exact time you usually watch TV. A 2 p.m. glare check tells you nothing about your 8 p.m. viewing.
Key Takeaways
The most reliable way to reduce TV glare is to fix lighting and position first, then address the window itself with curtains, blinds, or professional film if glare persists.
| Point | Details |
|---|---|
| Start with free fixes | Reposition, tilt, or clean the screen and adjust lighting before spending any money. |
| Match the fix to the cause | Window glare needs window treatments; lamp glare needs lamp repositioning. |
| Bias lighting reduces eye strain | A soft LED strip behind the TV narrows the screen-to-wall contrast gap. |
| Window film preserves your view | Solar film can cut glare significantly without blacking out daylight. |
| Tintadvantage installs measured film | Professional glare-reduction film with documented VLT ratings and a real warranty, sized for your home’s window direction. |
Table of Contents
- Why TV Glare Happens in the First Place
- Quick, No-Cost Fixes to Try First
- Lighting Strategies That Cut Glare Without Killing the Vibe
- Blackout Curtains, Blinds, or Window Film: Which One Fits Your Room?
- Do Anti-Glare Screen Protectors Actually Work?
- TV Settings and Hardware That Reduce Perceived Glare
- How to Pick the Right Fix for Your Room
- What Professional Window Film Actually Delivers
- Ready for a Glare-Free Room That Still Has a View?
- Frequently Asked Questions
- Sources
Why TV Glare Happens in the First Place
Light bounces off your screen at the same angle it hits it. That’s just physics: angle of incidence equals angle of reflection. A glossy TV screen behaves like a dim mirror, and when a bright source lines up with your eyeline, you get that washed-out, hard-to-watch glare.
The usual suspects:
- Direct sunlight streaming through an uncovered window
- A bright window behind or beside the TV
- Overhead ceiling lights or recessed cans
- A floor lamp positioned behind the viewer, opposite the screen
- Glossy furniture or mirrors bouncing secondary light onto the screen
Here’s the useful mental picture: tilt the screen down a few degrees and the reflection that used to hit your eyes gets redirected toward the floor instead, as examples of residential sunrooms and how window treatments affect daylight suggest on Gridwise Living. If your glare source is a window, start with window treatments. If it’s a lamp, move the lamp first. Matching the fix to the cause saves you money and time.
Quick, No-Cost Fixes to Try First
Before you spend a dime, work through these in order. Cheapest and easiest first.
- Turn off or move offending lights. Kill overhead fixtures during viewing and see if the glare disappears immediately.
- Clean the screen. Dust and fingerprints scatter light and worsen glare; a microfiber cloth (dry, never paper towels) makes a real difference.
- Reposition or tilt the TV. Small angle changes send reflections away from your seating area, as Yahoo/Tech recommends for most rooms.
- Move your seating. Sometimes the TV is fine and the couch is in the wrong spot.
- Add bias lighting behind the TV. A soft strip light reduces the contrast between screen and wall, which cuts perceived glare.
CNET’s testing on common household fixes confirms these five steps solve most glare complaints without buying anything new.
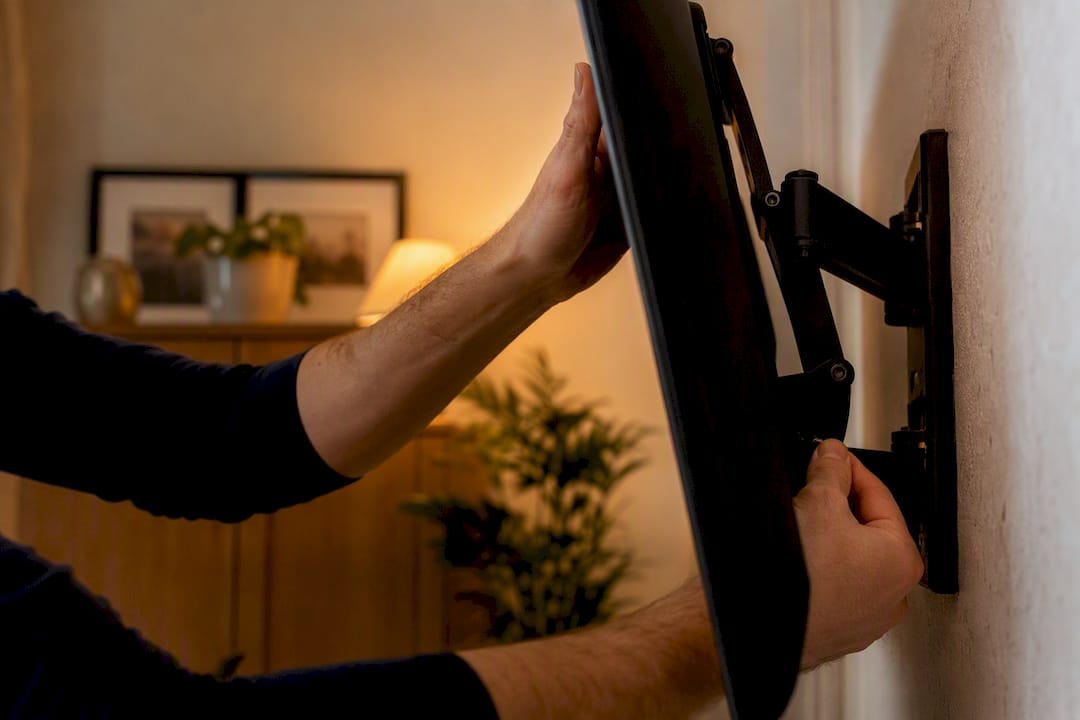
For tilt angles, aim for a downward pitch of about 5 to 15 degrees on a tilting mount, adjusted until reflections land on the floor instead of your couch.
Pro Tip: Unplug the TV before adjusting a wall mount. A loose bracket combined with live power is not a risk worth taking for a few degrees of tilt.
Test each change at your actual peak-glare time, whether that’s a sunny 4 p.m. or a lamp-lit 9 p.m., not whenever happens to be convenient.
Lighting Strategies That Cut Glare Without Killing the Vibe
Bias lighting is the cheapest lighting upgrade you’ll make all year. Mount a soft LED strip or small lamp behind the TV, aimed at the wall, not the screen. It narrows the contrast gap between a bright screen and a dark room, which is a big reason night viewing feels harsh in the first place.
Where you put your other lamps matters just as much:
- Place lamps to the sides of the seating area or behind the couch, never directly across from the screen
- Use dimmers or smart bulbs so you can drop brightness without walking to a switch
- Choose warmer color temperatures for ambient light near the TV; cooler, bluer light can exaggerate glare
Pro Tip: Use a diffuser or shade on any lamp near the screen to reduce glare. A bare bulb creates a brand-new hot spot even after you’ve fixed the original one.
Blackout Curtains, Blinds, or Window Film: Which One Fits Your Room?
If your glare comes from a window, no amount of lamp repositioning solves it. This is where you pick between three real options, and each one trades off differently.
- Blackout curtains: Strong daytime glare control, zero view when closed, low cost, DIY in an afternoon.
- Adjustable blinds or shades: Good middle ground, some view control, moderate cost, DIY-friendly.
- Solar or anti-glare window film: Preserves your outside view while cutting glare, professional install for best results, higher upfront cost, permanent.
Window direction changes which option makes sense. Home First Haven notes that north-facing windows are the easiest to manage, since the light is diffuse and less intense, while south- and west-facing rooms usually need stronger treatment, whether that’s a lower-VLT film or layered curtains.
Window film brands like Gila report glare reduction up to roughly 80%, and product spec sheets from manufacturers such as Madico list glare-reduction figures as high as 91%, depending on the film grade and VLT rating chosen.
Rough cost and timeline bands: DIY blackout curtains run cheap and take an hour to hang. Static-cling film you install yourself costs a bit more and takes an afternoon, but it tends to bubble or haze over a year or two. Professional film installation costs more upfront but is engineered for distortion-free clarity and typically comes with a real warranty, which is why Tintadvantage recommends it for anyone tired of re-doing a DIY fix every summer.
Maintenance is simple either way: curtains need occasional washing, blinds need dusting, and professional film needs nothing more than a soft cloth and mild soap.
Do Anti-Glare Screen Protectors Actually Work?
A screen protector can help with small, localized reflections, especially if you rent and can’t change the room’s lighting or windows. Before buying one, check these boxes:
- Confirms exact fit for your TV’s screen size and model
- Matte finish (not glossy) for actual glare reduction
- Clear return policy in case the fit or clarity disappoints
- Realistic expectations about slight picture dulling, since any film over the screen affects black levels somewhat
Protectors help when the room’s ambient light is manageable and the reflection is minor. They fall short against strong direct sunlight pouring through an uncovered window. In that case, the light source itself needs addressing, not the screen surface.
TV Settings and Hardware That Reduce Perceived Glare
Small setting tweaks go a long way before you touch the room itself:
- Lower brightness moderately from factory defaults
- Bump contrast moderately to compensate for the dimmer setting
- Switch to a cinema or movie picture mode, which is calibrated for lower ambient light
- Turn off dynamic contrast if scenes look washed out or overly aggressive
If you’re shopping for a new TV, look for models with anti-reflective coatings or lower-reflectance panels. Matte finishes cut glare better but can slightly soften peak contrast in dark scenes, so it’s a real tradeoff, not a free upgrade. A full-motion or tilt mount also gives you angle flexibility that a fixed mount never will.
How to Pick the Right Fix for Your Room
Work through this in order of cost and permanence, not the other way around:
- Try the free fixes first: lighting changes, repositioning, tilt.
- Add layered lighting (bias light, warmer bulbs, dimmers).
- Address the window with curtains, blinds, or film if daylight is the real culprit.
- Call a professional installer if glare persists after steps one through three.
When you talk to an installer, ask specific questions: What VLT rating do you recommend for my window’s direction? What’s the measured glare reduction on the film you’re proposing? Can I see before-and-after photos from a similar installation? What’s the installation timeline and warranty coverage?
Watch for red flags: no written warranty, vague claims like “blocks most glare” with no VLT number attached, film sized incorrectly for your window, or visible bubbling and haze in an installer’s own sample work. Reliable pros back their claims with real specs, not just adjectives.
What Professional Window Film Actually Delivers
Measured performance is what separates professional film from a roll of static cling you bought online. Manufacturer spec sheets document specific glare-reduction and VLT figures for different film grades, which lets an installer match the right film to your window’s direction instead of guessing.
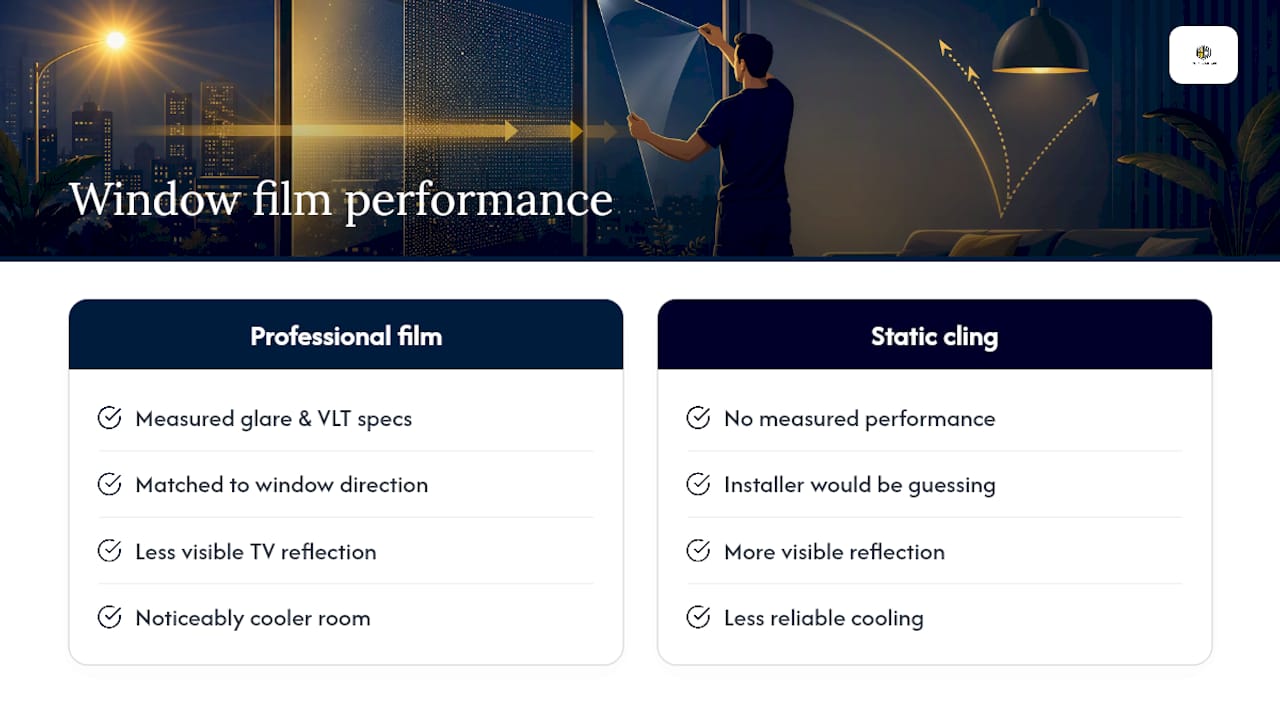
Homeowners typically notice three things right away: less visible reflection on the TV screen, a noticeably cooler room, and an outside view that’s still intact. Reliable installation includes a light-transmission assessment, a written warranty, and film engineered to stay optically clear for years rather than yellowing or bubbling like cheaper alternatives. Tintadvantage’s residential ceramic window film options are built around exactly this standard.
When DIY Is Enough, and When It Isn’t
DIY fixes solve most minor glare, especially if the culprit is a lamp or an overhead light. If your glare comes from a persistent, bright window and you refuse to give up the view with blackout curtains, professional film is the better long-term call. Rule of thumb: if you’re re-adjusting the same lamp every week, it’s time to look at the window instead.
Ready for a Glare-Free Room That Still Has a View?
Curtains and blinds solve glare by blocking your window entirely. Tintadvantage solves it while you keep the view, the daylight, and the room you actually like living in. As Omaha’s residential window film specialists, we install film engineered for measurable glare reduction, not a marketing adjective, backed by a real installation warranty.

Service highlights include glare and UV reduction, energy savings from reduced heat gain, and precise installation that avoids the bubbling and hazing common with DIY static-cling film. Costs vary by window count and film grade. DIY curtains or clip-on film sit at the low end, while professional installation runs medium to high depending on your home, typically completed in a single day for most residential jobs. If you’re tired of chasing glare around your living room every season, request a free estimate and we’ll survey your windows and recommend the right film for your home’s exposure.
Frequently Asked Questions
What is the fastest way to reduce TV glare? Tilt or reposition the TV and control the brightest light source in the room. Most glare disappears once the reflection angle changes or the offending light is moved or dimmed.
Does window film really help with TV glare from windows? Yes. Solar and anti-glare window film blocks the visible light wavelengths that wash out your screen while letting you keep your view and natural daylight, unlike blackout curtains.
Are anti-glare TV screen protectors worth buying? They help with small, localized reflections, particularly if you can’t change your room’s lighting. They’re less effective against strong direct sunlight, where the window itself needs addressing.
What TV picture settings reduce perceived glare? Lower brightness by 10 to 20%, raise contrast moderately, and switch to a cinema or movie picture mode. Turn off dynamic contrast if scenes look washed out.
When should I hire a professional for window film instead of DIY curtains? If glare returns every time the sun shifts and you don’t want to sacrifice your view with blackout curtains, professional film with a documented VLT rating and warranty is the more permanent fix.
Sources
- 5 Easy Ways to Get Rid of Annoying TV Glare - CNET
- Ways to reduce glare on your TV — Yahoo/Tech
- Glare Control Smoke Window Film | Gila Window Film
- Optivision Reflective | Madico, Inc.
- TV in Front of Window: Design Tips That Actually Work - Home First Haven