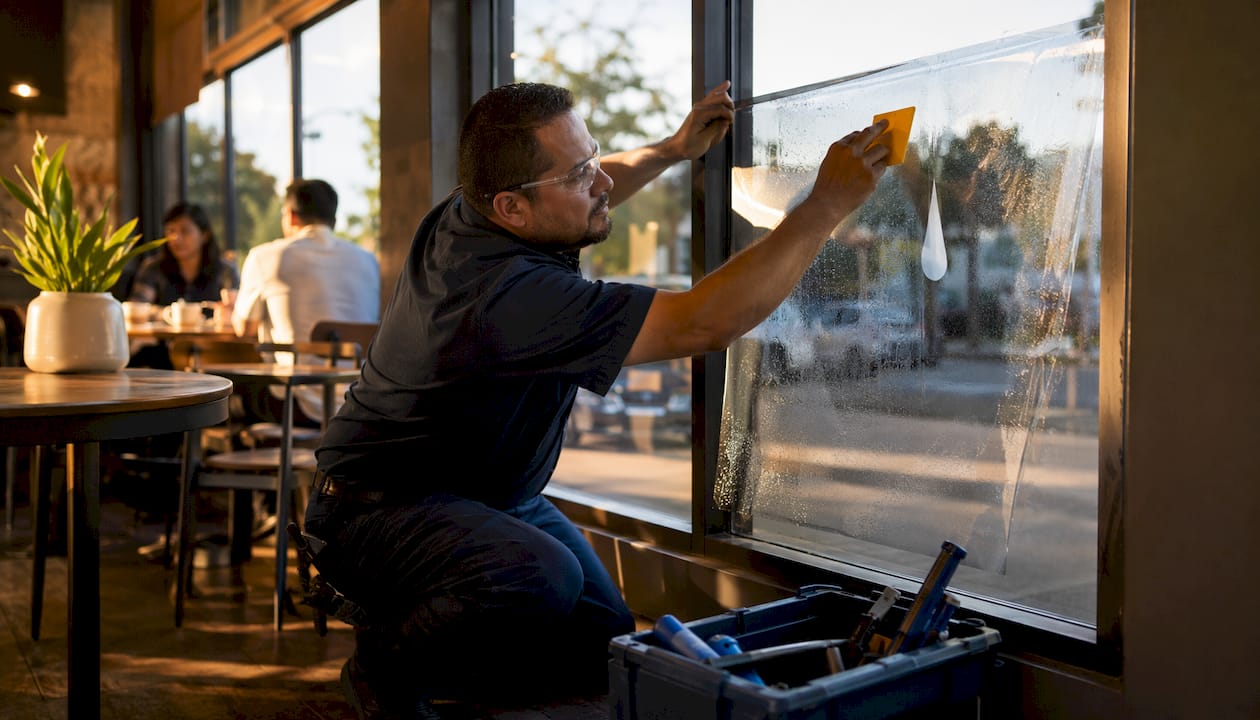
Storefront Window Film: Energy, Security, and Branding
Select your film by primary goal, hire a certified installer for anchored attachment, and you’ll cover the three biggest commercial priorities in a single project. Here’s the short version of what that looks like in practice:
- Energy first: Specify a solar-control or ceramic film with a low Solar Heat Gain Coefficient (SHGC) and a VLT that keeps your displays visible. Properly installed films reduce cooling expenses by 10–20% in many storefront retrofit projects.
- Security first: Choose a thicker safety film (typically 8–12 mil) and require frame anchoring via an Impact Protection Attachment (IPA). Film alone, without mechanical anchoring, leaves the entire glazed unit vulnerable to being popped from the frame under force.
- Branding first: Perforated one-way vinyl or printed decorative film turns glass into a marketing surface without permanently altering the structure.
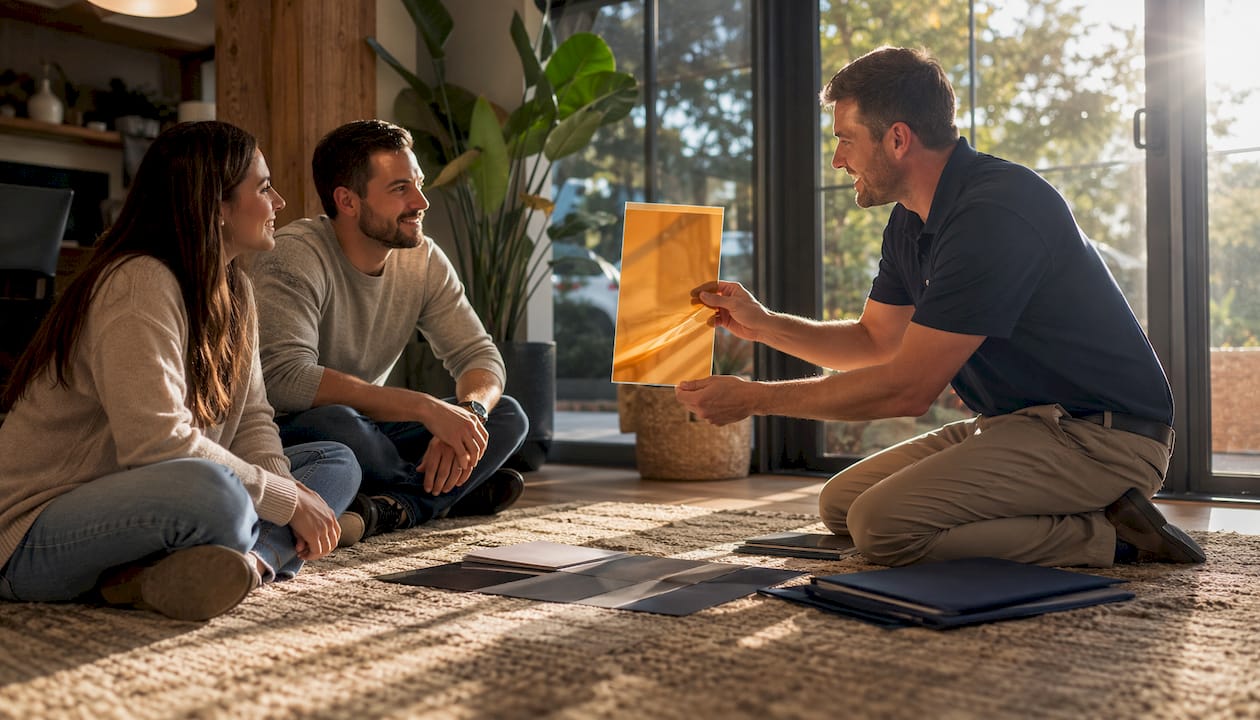
Immediate next step: measure your total glazing area in square feet, photograph your façade in both direct sun and shade, and request an on-site quote from Tintadvantage (Omaha Window Tinting). An in-person survey is the only way to get accurate specs and pricing.
Table of Contents
- What types of storefront window film are available?
- How do you choose the right film and installer for your storefront?
- What does professional installation cost and how long does it take?
- How is film performance measured, and what energy savings are realistic?
- What are your options for storefront branding and graphics?
- Key Takeaways
- What most businesses get wrong about window film
- Get a professional quote from Tintadvantage
- Useful sources for verifying film performance claims
What types of storefront window film are available?
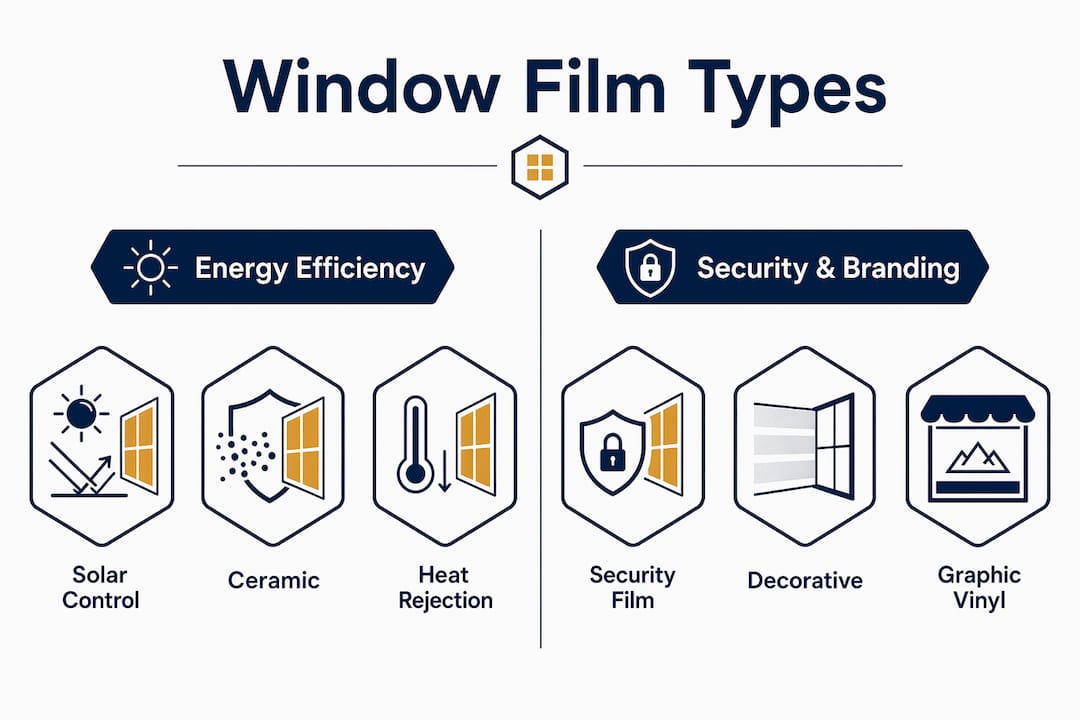
Commercial film breaks into seven distinct families. Each solves a different problem, and most storefronts end up combining two or three.
- Solar-control / reflective film: Reduces heat gain by reflecting solar radiation. High Total Solar Energy Rejected (TSER) values, but the mirror-like exterior can feel unwelcoming on retail facades. Best for west- or south-facing glass that gets punishing afternoon sun.
- Spectrally selective ceramic film: Rejects infrared heat while passing visible light, so TSER stays high without darkening the interior. The go-to choice when product visibility matters. Spectrally selective films can deliver strong TSER percentages at VLT levels that keep merchandise well-lit.
- Safety / security film: Thick polyester (4–12 mil) that holds shattered glass in place. Requires an IPA sealant or mechanical frame anchor to prevent the whole pane from being displaced under impact. 3M’s commercial guidance explicitly flags this anchoring requirement for full mitigation.
- Decorative / branded film: Printed or patterned films applied for aesthetics, signage, or partial privacy. Available in custom graphics, frosted patterns, or solid colors.
- Privacy / frosted film: Diffuses light and blocks sightlines without blocking daylight entirely. Common in service windows, conference rooms adjacent to storefronts, and medical or financial retail.
- Anti-graffiti film: A sacrificial clear layer over glass or mirrors. When tagged, you peel and replace the film rather than the glass. Cost-effective in high-traffic urban locations.
- Perforated one-way vinyl: Exterior-facing graphic with small holes that allow outward visibility from inside. Covered in more detail in the branding section below.
Pro Tip: When your primary goal is heat rejection but you can’t afford to darken your displays, specify a spectrally selective ceramic film rather than a standard reflective film. You get comparable TSER with a VLT high enough to keep merchandise visible from the sidewalk — a trade-off that reflective films rarely achieve at the same price point.
How do you choose the right film and installer for your storefront?
Work through this checklist before you call a single installer. It takes about 20 minutes and saves hours of back-and-forth.
Step 1: Define your primary goal. Pick one: energy savings, security, branding, or privacy. Your top priority determines the film family. Secondary goals can often be layered in, but the primary goal sets the spec.
Step 2: Document your glazing. Note glass type (single, double, tempered, laminated), orientation (north/south/east/west), and approximate square footage per elevation. South- and west-facing glass typically has the highest solar load.
Step 3: Set measurable targets. Examples: “Reduce glare by at least 50%,” “Block 99% of UV,” “Achieve TSER above 60%.” Specific targets let you compare bids on the same terms.
Step 4: Set a realistic budget range. Film type, thickness, graphics printing, and removal of existing film all move the number. Have a range, not a fixed ceiling.
Step 5: Vet your installers. Ask these questions directly:
- How many commercial storefronts have you installed in the last 12 months? Can you share a portfolio or references?
- Are you an authorized dealer for the film brands you’re quoting?
- For security film: will you use an IPA or mechanical frame anchor? If not, why not?
- What warranty does the manufacturer offer, and what does your labor warranty cover?
- Do you pull permits for graphic installations when required?
Red flags to walk away from:
- A bid that leads with price and skips performance specs entirely
- Vague warranty language (“lifetime” with no written terms)
- Refusal to anchor security film to the frame
- No portfolio, no references, no manufacturer authorization
- Pressure to decide on the spot
Professional installation is strongly recommended for commercial storefronts. DIY application works for small residential panes, but commercial glazing involves large sheets, precise edge trimming, and anchoring systems that require trained hands and proper tools.
What does professional installation cost and how long does it take?
The process follows a predictable sequence, and understanding it helps you plan around your business hours.
A typical commercial project runs: site survey → measurement and film selection → graphics proof (if applicable) → glass prep and cleaning → film application → edge trimming and frame anchoring → cure period → final inspection. Most single-storefront installs complete in one to two days once materials are on hand.
| Phase | Single-pane storefront | Multi-pane or full-glass façade |
|---|---|---|
| Site survey | 1–2 hours | Half day |
| Material lead time | 3–5 business days | 1–3 weeks (custom graphics) |
| Installation | 4–8 hours | 1–3 days |
| Cure / settle time | a few days (bubbles resolve) | Same |
| Safe to clean | 3 days minimum | 3 days minimum |
Cost drivers vary more than most buyers expect. Film family is the biggest lever: solar-control films run lower per square foot than printed perforated graphics or thick security films. Other variables include VLT and TSER spec (premium performance costs more), film thickness for security applications, removal of existing film or adhesive residue, accessibility (scaffolding or lifts for tall facades), and whether frame anchoring hardware is included. Installation quotes typically include the site survey, film samples, printed proofs for graphics, labor, and warranty documentation.
Rough price bands for commercial film run from around $8–$15 per square foot for standard solar-control or decorative film up to $20–$30 or more per square foot for thick security film with IPA anchoring or full custom-printed perforated graphics. These are market ranges, not quotes. Your actual number depends on every variable above.
Maintenance after installation: Wait at least three days before cleaning near edges. Use a soft cloth or low-lint paper towel with a mild, non-abrasive cleaner. Ammonia-based cleaners are generally safe if they don’t sit on the film surface for more than two minutes. Avoid razor blades or abrasive pads. Most quality films need nothing more than routine glass cleaning to maintain performance for 10–15 years.
How is film performance measured, and what energy savings are realistic?
Four metrics tell you almost everything you need to know about a film’s real-world performance.
- Visible Light Transmittance (VLT): The percentage of visible light passing through. Higher VLT means a brighter interior. Retail storefronts typically target a moderate to high VLT range to balance daylighting with heat control.
- Solar Heat Gain Coefficient (SHGC) / Total Solar Energy Rejected (TSER): SHGC measures how much solar heat enters (lower is better for cooling). TSER is the inverse: the percentage of total solar energy the film rejects (higher is better). These two metrics together give the practical picture.
- UV blocking percentage: Quality commercial films block 99% or more of UV radiation, protecting merchandise, flooring, and furnishings from fading. Manufacturer spec tables typically list this figure alongside VLT and TSER.
- Mil / thickness: Relevant primarily for security films. Thicker film holds glass fragments together longer under impact. Standard solar-control films run 1.5–4 mil.
Energy savings reality check: Manufacturers and experienced installers report measured cooling reductions commonly in the range of 10–20% for storefront retrofit projects. Results depend on climate zone, glass orientation, existing glazing type, and HVAC efficiency. A south-facing single-pane storefront in a hot climate will see more benefit than a north-facing double-pane in a mild one. Warranty length is a useful proxy for manufacturer confidence: films backed by 10–15 year warranties signal that the manufacturer stands behind the performance data.
To verify claims before you commit, request the manufacturer’s technical data sheet for the specific film being quoted. Ask whether the product has been tested to NFRC standards or equivalent independent lab protocols. On larger projects, a before-and-after infrared thermography scan or monitored kWh comparison gives you hard evidence of actual performance gain.
What are your options for storefront branding and graphics?
Window film is one of the most cost-effective branding surfaces a retail business has. The glass is already there; you’re just deciding what to do with it.
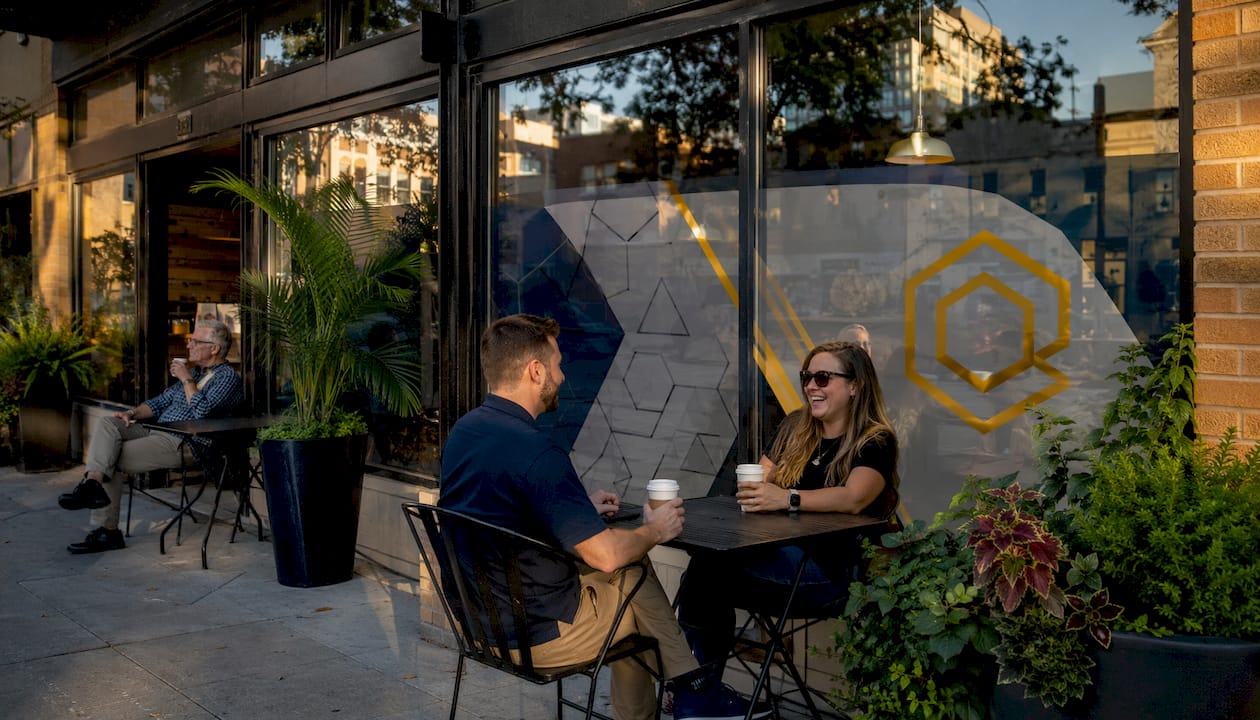
Perforated one-way vinyl is the workhorse of retail window graphics. The exterior face carries a full-color printed image. The interior side has thousands of small holes that allow outward visibility during daylight. The catch: at night, when interior lighting is brighter than the exterior, the one-way effect reverses. Passersby can see in, and the graphic washes out. Plan for after-dark conditions from the start, especially for restaurants, gyms, or any business open evenings.
Frosted and decorative films diffuse light rather than block it. They’re ideal for partial privacy (service counters, waiting areas) and add a polished look without darkening the space significantly. They also work well layered with solar-control film on the same pane.
Full-window printed wraps cover the entire glass surface with an opaque or semi-opaque graphic. Maximum visual impact, but they eliminate natural light and outward visibility entirely. Use them on non-view glass or where privacy is the goal.
Design considerations worth getting right before you order:
- High-contrast graphics read better from the sidewalk than subtle gradients. Test legibility at 20 feet.
- Keep critical text and logos away from frame edges, where trimming can clip content.
- If your interior has active displays or merchandise you want visible, target a VLT above 40% for the film covering those areas. Darker graphics may require brighter interior lighting, which changes your energy ROI calculation.
- Work from manufacturer-recommended file formats and color profiles. Request a printed proof and a test installation before committing to a full run.
Permits: Storefront graphics that function as signage often trigger local sign permit requirements. Some municipalities also have storefront design review for historic districts or planned commercial zones. Check with your local planning or building department before installation, not after. A good installer will flag this during the site survey, but the permit responsibility typically falls on the business owner.
For a broader look at how exterior finishes and window treatments affect curb appeal, window color and finish choices follow similar design logic to film selection.
Key Takeaways
Selecting the right storefront window film by primary goal, then vetting your installer on anchoring, warranty, and portfolio, is the single decision that separates a high-performing commercial installation from an expensive disappointment.
| Point | Details |
|---|---|
| Match film to your primary goal | Solar-control or ceramic for energy, thicker anchored film for security, perforated or decorative for branding. |
| Anchor security film to the frame | IPA or mechanical frame attachment is required; film-only adhesion leaves the pane removable under force. |
| Verify performance specs | Request manufacturer data sheets and NFRC lab reports; realistic cooling savings run 10–20% for most storefronts. |
| Plan graphics for night conditions | Perforated one-way vinyl reverses at night; design and lighting must account for after-dark visibility. |
| Tintadvantage for local installation | Tintadvantage (Omaha Window Tinting) offers on-site surveys, film samples, and professional installation with warranty coverage. |
What most businesses get wrong about window film
The most common mistake isn’t picking the wrong film. It’s treating the installer selection as an afterthought.
Business owners spend hours comparing film brands and VLT percentages, then hire whoever gave the lowest bid without asking a single question about anchoring, manufacturer authorization, or warranty terms. The film spec matters, but a perfectly specified film installed without frame anchoring on a security application is nearly useless. The pane can still be pushed out of the frame intact. That’s not a film failure. It’s an installation failure, and most warranties won’t cover it.
There’s also a persistent misconception that darker film always means better energy performance. High TSER with an unnecessarily low VLT darkens your merchandise displays and can push customers toward better-lit competitors. The goal is the right balance, not the maximum rejection. Spectrally selective ceramic films exist precisely to solve this. They’re not always the cheapest option, but the ROI calculation changes when you factor in lighting costs and customer experience.
One more thing: the energy savings range of 10–20% is real, but it’s a range for a reason. A south-facing single-pane storefront in Phoenix will hit the high end. A north-facing double-pane in Seattle may see modest gains. Ask your installer to walk through the calculation for your specific orientation and glazing before you anchor expectations to a number.
Get a professional quote from Tintadvantage
Tintadvantage (Omaha Window Tinting) installs high-performance window films for commercial storefronts, with a focus on energy efficiency, security, and branded graphics. The difference from a generic installer: every project starts with an on-site survey, not a phone estimate.
A typical quote from Tintadvantage includes a site survey and glazing assessment, performance spec recommendations matched to your goals, film samples and swatches, printed proofs for any graphic applications, a per-square-foot cost estimate, and full warranty documentation. If you’re also looking at broader building-envelope upgrades, energy-efficiency retrofits on doors and windows often pair well with film installation for a more complete thermal improvement.
Ready to move forward? Photograph your storefront façade in full sun and shade, note your approximate glazing square footage, and request your on-site quote from Tintadvantage. The survey is the fastest way to get accurate specs and a real number for your project.
Useful sources for verifying film performance claims
When comparing bids or checking manufacturer claims, go to primary sources rather than sales brochures.
- 3M Commercial Window Film: Manufacturer guidance on heat rejection, safety film anchoring (IPA requirements), and LEED credit eligibility. Use this to verify security film anchoring specs.
- Solar Gard Sterling Series: Spectrally selective exterior film spec table with VLT, TSER, UV blocking, and exterior/interior reflectance values. A useful benchmark for comparing spectrally selective options.
- Lowe’s Window Film How-To: Practical installation overview covering film types, single- and double-pane compatibility, and perforated graphic trade-offs.
- Window Film World Installation Guide: Step-by-step application process, cure times, and what a professional quote should include.
- NFRC (National Fenestration Rating Council): The independent body that certifies window and film performance ratings in the U.S. Request NFRC-certified data when comparing energy performance claims across manufacturers.
When a manufacturer can’t provide an independent lab report or NFRC-certified data for the film they’re quoting, treat that as a gap worth pressing on before you sign anything.