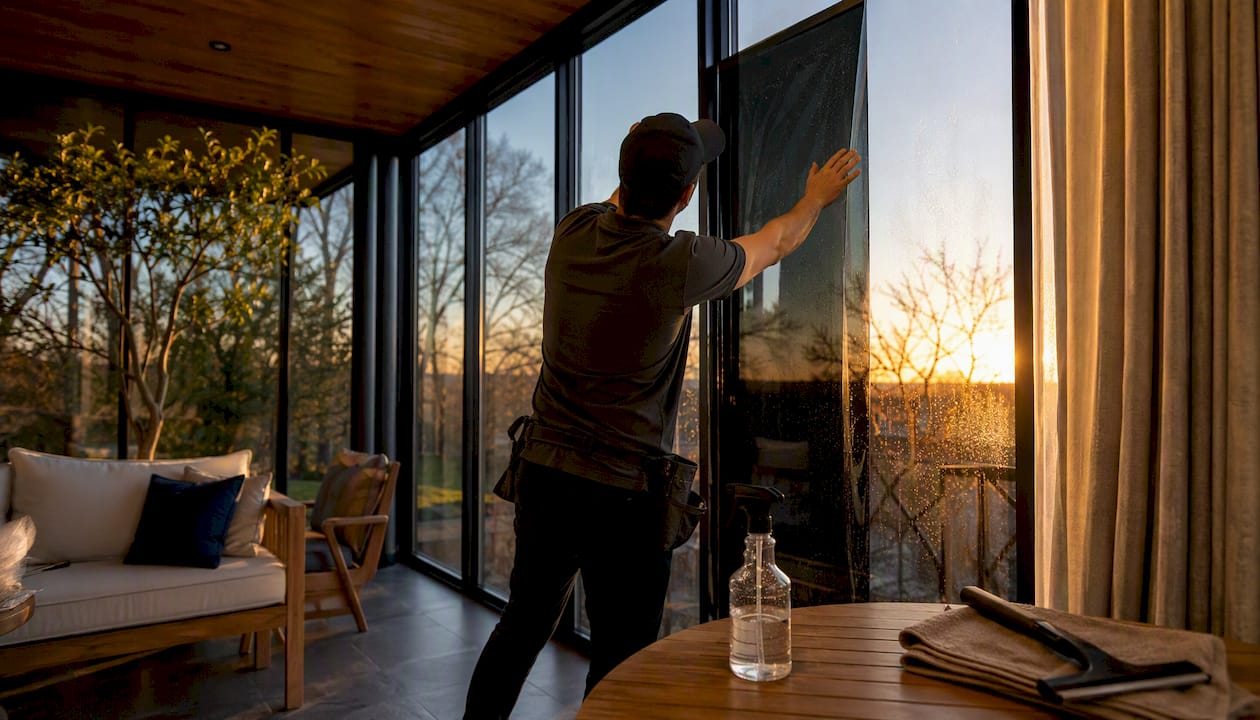
Sunroom Window Film: Keep Cool and Block UV
For most sunrooms, a ceramic or spectrally selective window film is the right call. It cuts solar heat significantly while keeping your view clear and your room bright. If privacy or a budget-first approach matters more, reflective or dyed films are worth considering, though they trade some outward visibility for lower cost.
Before you do anything else:
- Measure your glass area, including any ceiling panels or skylights, and note whether the glass is single-pane, double-pane, tempered, or laminated.
- Check your exposure: south- and west-facing sunrooms take the hardest solar hit and benefit most from high-SHGC-reduction films.
- Call a professional if your sunroom has skylights, curved glass, or roof glazing. Tintadvantage handles exactly these installs, where DIY approaches tend to fail fastest.
Key Takeaways
Ceramic or spectrally selective sunroom window film is the most effective choice for most homeowners, combining strong solar heat rejection with high visible light retention and near-total UV blocking.
| Point | Details |
|---|---|
| Best film for most sunrooms | Ceramic or spectrally selective film rejects 50–80% of solar heat while keeping VLT at 50–78%. |
| UV blocking protects health and furnishings | Quality films block up to 99% of UV, reducing fading risk and lowering occupant UV exposure. |
| DIY threshold | Flat, single-pane vertical glass under ~100 sq ft is reasonable DIY; skylights and roof glazing require a pro. |
| Check SHGC and UV% on the spec sheet | Read the actual model spec, not just the product line name, before purchasing any film. |
| Tintadvantage for complex installs | Tintadvantage provides free on-site assessment, certified installation, and both manufacturer and labor warranties for Omaha-area sunrooms. |
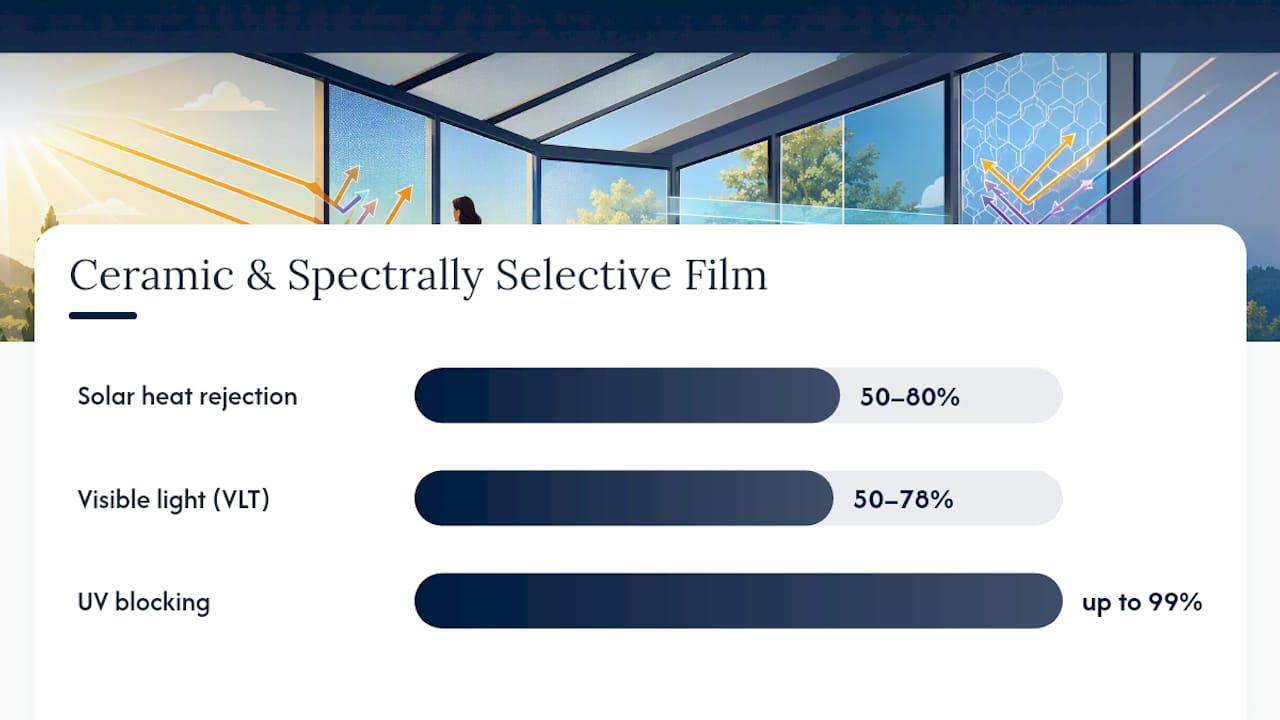
Table of Contents
- How does sunroom window film reduce heat, UV, and glare?
- What film types work best in a sunroom?
- How do you choose the right film for your sunroom?
- DIY film or professional installation: which is right for your sunroom?
- What does sunroom window film cost, and when does it pay off?
- What are the downsides and failure modes of sunroom window film?
- Why is ceiling and skylight film different from standard window film?
- Why professional installation makes a real difference for sunrooms
- What most homeowners get wrong about sunroom tinting
- Tintadvantage: professional sunroom film installation in Omaha
- Sources
How does sunroom window film reduce heat, UV, and glare?
Window film works by intercepting solar energy before it becomes heat inside your room. Depending on the film type, it either reflects solar wavelengths back outward or absorbs them within the film itself. Either way, less energy crosses the glass, and your sunroom stays cooler without blocking all the light that makes it worth having.
Three numbers matter when you read a film spec sheet:
VLT (Visible Light Transmission) is the percentage of visible light the film lets through.
SHGC (Solar Heat Gain Coefficient) measures how much total solar energy passes through the glass. Lower is better for heat control. Standard clear glass runs around 0.86; a good solar-control film can bring that down to 0.25–0.40.
UV% is simply the percentage of ultraviolet radiation the film blocks. UV is the primary driver of fading in fabrics, flooring, and wood finishes, as research from the Florida Solar Energy Center confirms.
Statistic: Nano-ceramic films are reported to reject roughly 50–80% of solar heat while maintaining 50–78% visible light transmission, which means you can keep a bright, airy sunroom without cooking in it.
Spectrally selective films take this further by targeting infrared wavelengths specifically, blocking heat-carrying radiation while leaving visible light largely untouched. That’s the key difference from older reflective or metalized films, which reduce heat but also darken the room and create a mirror effect from outside.
The U.S. Department of Energy recommends evaluating window film as a cost-effective retrofit before committing to full window replacement, which makes it a practical first step for most homeowners.
What film types work best in a sunroom?
Ceramic and spectrally selective films are the best starting point for most sunrooms. They deliver strong heat rejection with minimal visual impact, no mirror effect, and compatibility with most residential glass types.
A few things to know before you pick:
- Request a sample swatch or ask for an in-home demo before committing to any film. Colors and reflectivity look different on your actual glass than on a product card.
- Ceramic window film is non-metallic, so it won’t interfere with cell signals or Wi-Fi, which matters in a sunroom used as a home office or lounge.
- Roof and ceiling glazing requires films specifically rated for overhead installation. Standard vertical-window films are not designed for the heat load and adhesive stress that ceiling panels create.
Pro Tip: If your sunroom faces west or southwest, prioritize SHGC over VLT. A film that looks slightly darker is a worthwhile trade when afternoon sun is turning your space into an oven.
How do you choose the right film for your sunroom?
Start with your main goal, then let your glass type and orientation narrow the field. Here’s a practical sequence:
- Define your top priority. Heat reduction, UV/fade protection, glare control, and privacy each point toward different film families. Most homeowners want heat and UV together, which ceramic or spectrally selective films handle well.
- Catalog your glass. Measure total square footage, including ceiling panels and skylights. Note whether glass is single-pane, double-pane, tempered, or laminated. This affects which films are safe to use and whether professional installation is required.
- Check orientation and climate. South- and west-facing glass in hot climates needs the strongest SHGC reduction. North-facing glass in a cold climate might benefit more from a low-E window film that adds insulation value in winter.
- Match film family to goal. Heat and glare: ceramic or spectrally selective. Privacy plus heat: reflective or frosted. Fade protection with minimal visual change: near-clear UV-blocking film. Year-round insulation: low-E retrofit.
- Decide DIY vs. professional. Flat, single-pane vertical windows under roughly 100 sq ft total are reasonable DIY territory. Anything else, read the next section carefully.
Red flags for DIY:
- Any skylight or roof glazing
- Curved or shaped glass
- Tempered glass with existing coatings
- Multi-pane units where film could trap heat and stress the seal
- Commercial laminated glass
Always verify SHGC and UV% on the manufacturer’s spec sheet for the exact model number, not just the product line. Warranty terms also vary significantly between models, so read that section before you buy.
Understanding how your sunroom was built, including its glazing type and framing, shapes which films are even compatible. A homeowner’s guide to sunroom construction can help you identify your glass type before you call for a quote.
DIY film or professional installation: which is right for your sunroom?
DIY film suits flat, single-pane vertical windows where the primary goal is modest heat or glare reduction and cosmetic perfection isn’t critical. Professional installation is the right choice for large glass areas, ceiling or skylight glazing, multi-pane or tempered glass, and any situation where long-term warranty coverage matters.
| Factor | DIY Film | Professional Installation |
|---|---|---|
| Upfront cost | Lower ($1–$4/sq ft material) | Higher ($5–$15+/sq ft installed) |
| Optical clarity | Bubbles and edges visible if rushed | Precision application, no distortion |
| Durability | 3–5 years typical | 10–15+ years with quality film |
| Warranty | Manufacturer only; often voided by self-install | Manufacturer + installer labor warranty |
| Ceiling/skylight capable | Not recommended | Yes, with proper equipment |
| Glass type flexibility | Single-pane flat only | All types including tempered, laminated |
Questions to ask any installer before you hire:
- What film model number are you using, and can I see the manufacturer spec sheet?
- Do you carry both a manufacturer warranty and a separate labor warranty?
- Have you installed film on ceiling or skylight glazing before? Can you show examples?
- What surface prep do you do before application, and what’s the cure time?
- Are you certified by the film manufacturer or a trade body like the International Window Film Association (IWFA)?
As a practical threshold: if your sunroom has any roof glazing, more than roughly 150 sq ft of glass total, or glass that isn’t standard flat single-pane, hire a professional. The optical quality difference alone is worth it, and a botched DIY install on tempered glass can void the glass manufacturer’s warranty entirely.
What does sunroom window film cost, and when does it pay off?
A typical sunroom film project runs anywhere from a few hundred dollars for a DIY kit on a small space to a few thousand dollars for a professionally installed ceramic or spectrally selective job on a mid-sized sunroom with standard vertical glazing.
Statistic: Some clients report notable cooling cost reductions after professional film installation, with the most dramatic results in sunrooms that previously had no solar control on south- or west-facing glass.
The non-energy savings are real too. Blocking UV at the glass, as FSEC research confirms, meaningfully reduces fading in furniture, flooring, and artwork. Replacing a faded rug or refinishing sun-damaged hardwood costs far more than a film install.
For energy incentives, check Energy.gov’s guidance on window efficiency upgrades and contact your local utility. Some utilities offer rebates for solar-control improvements, and certain high-efficiency film products may qualify for federal energy tax credits depending on the installation year and product specs.
Ceiling fans are a low-cost complement once film is in place. They improve perceived comfort through airflow without lowering actual air temperature, so they work best alongside film rather than instead of it.
What are the downsides and failure modes of sunroom window film?
Film fails for predictable reasons, and most of them are avoidable. The most common problems:
- Bubbling and peeling usually trace back to poor surface prep, trapped moisture, or applying film to glass that wasn’t clean and dry.
- Edge lifting happens when film is cut too short of the frame or when temperature swings are extreme, as in a sunroom that goes from 40°F in winter to 110°F in summer sun.
- Optical distortion (a wavy or hazy appearance) often results from film applied to textured, tempered, or already-coated glass that wasn’t compatible with the adhesive.
- Adhesive failure on ceiling panels is a specific risk: gravity, heat load, and condensation cycles stress overhead adhesives far more than vertical glass.
- Premature fading of the film itself can occur with low-quality dyed films exposed to intense direct sun, especially on south-facing glass.
Maintenance is simple but specific:
- Wait at least 30 days after installation before cleaning, to allow the adhesive to fully cure.
- Use a soft cloth or rubber squeegee with a mild, ammonia-free cleaner. Ammonia degrades most film adhesives over time.
- Avoid abrasive pads or scrapers anywhere near the film surface.
- Check edges and corners once a year, especially after winter. Catching a small lift early means a simple repair; ignoring it means full replacement.
On warranties: manufacturer warranties typically cover film defects (delamination, color shift, adhesive failure) but exclude damage from improper installation or incompatible glass. Installer warranties cover labor and application quality. Always get both in writing, and confirm that DIY installation doesn’t void the manufacturer coverage before you start.
Pro Tip: Every fall, run a fingernail lightly along the film edges in your sunroom. Any lift or soft spot is a sign to call your installer before winter temperature swings turn a small edge problem into a full peel.
Why is ceiling and skylight film different from standard window film?
Overhead glazing is the hardest film job in a sunroom, and the one most likely to go wrong without professional help. Three factors make it different from vertical glass: the heat load is higher (direct overhead sun hits at a steeper angle for longer), gravity works against the adhesive constantly, and access for proper application is physically difficult.
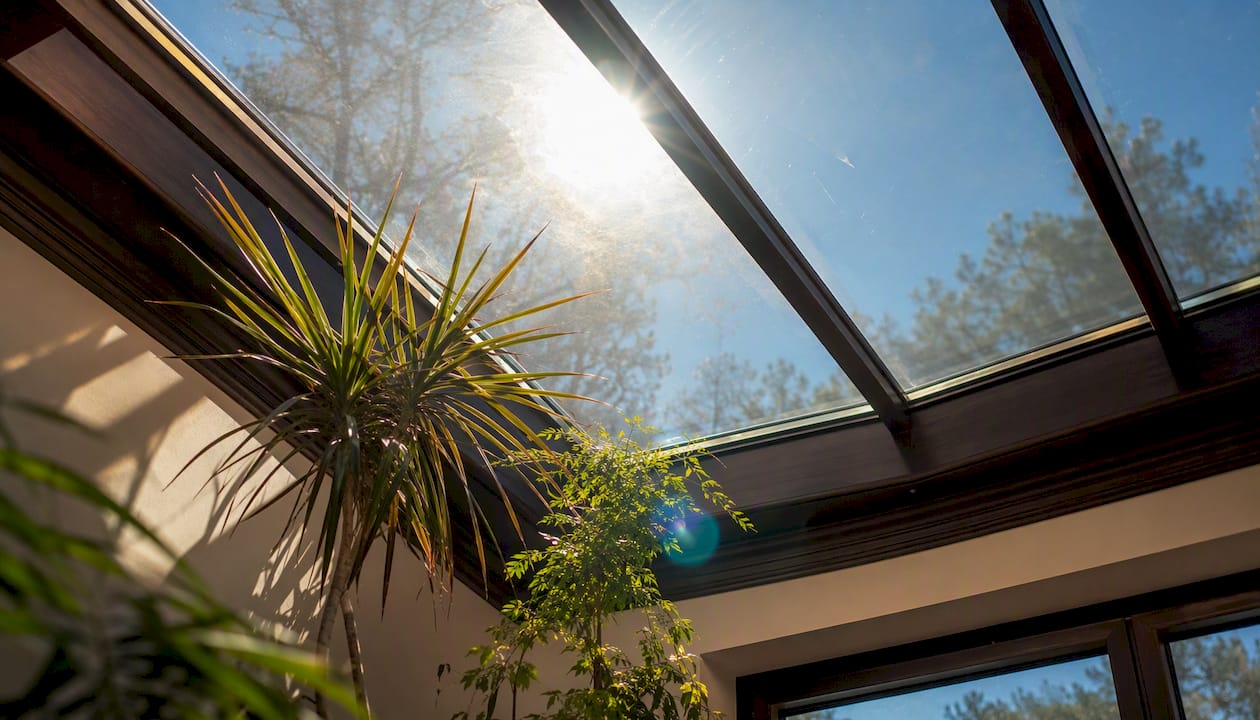
For skylights and roof panels, professional installation is strongly recommended, not just preferred. Tintadvantage’s skylight window film service addresses exactly these conditions, including proper edge sealing and heat-cure processes that standard DIY kits can’t replicate.
Alternatives when film isn’t the right fit for your ceiling glazing:
- Exterior shading (shade sails, pergola covers, or retractable awnings) blocks heat before it reaches the glass entirely, which is the most effective approach for extreme heat loads.
- Insulated roof liners add a thermal barrier from inside and can be combined with film on vertical glass.
- Interior roller shades or cellular shades rated for skylights provide adjustable light control, though they don’t block heat at the source the way film does.
- Specialty skylight film from manufacturers like 3M is designed for overhead installation with stronger adhesives and higher heat tolerance.
Ceiling film typically has a shorter lifespan than vertical window film, roughly 7–10 years versus 10–15 years for wall glass, due to the compounded stress of heat, gravity, and condensation. Budget for that replacement cycle when you plan the project.
Layering passive solutions like film with active cooling, such as a mini-split or ceiling fan, delivers the most reliable year-round comfort in sunrooms that see heavy use across seasons.
Why professional installation makes a real difference for sunrooms
Professional installation improves optical clarity, long-term adhesion, and warranty coverage in ways that matter most on large or complex sunroom glass. Tintadvantage is a leading local option for homeowners in the Omaha area who want those results without the guesswork of a DIY approach.
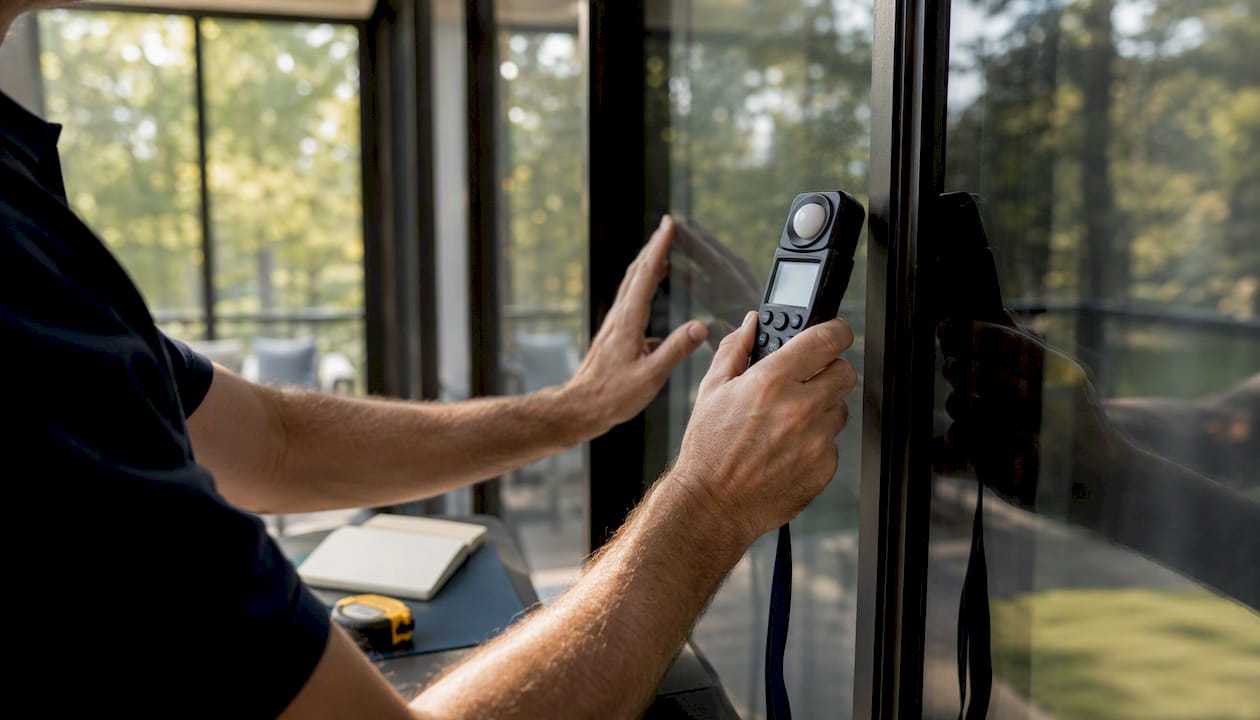
When you contact Tintadvantage, here’s what to expect: a free on-site measure and glass assessment, a film recommendation matched to your specific glass type and orientation, a clear timeline and pricing estimate, and installation by certified technicians who carry both manufacturer and labor warranties.
Before your consult, have these ready: total glass measurements (including any ceiling panels), your sunroom’s primary orientation (north/south/east/west), and your top goal (heat reduction, UV protection, privacy, or some combination). That information lets the team give you an accurate recommendation on the first visit rather than a generic quote.
3M’s manufacturer data, for reference, claims up to 97% heat rejection and 99.9% UV blocking for selected Sun Control films. Present those as manufacturer-stated figures and verify the specific model number against the spec sheet your installer provides.
UV blocking at the glass also carries a health benefit beyond furniture protection. Skincancer identifies reducing UV exposure through barriers as a meaningful part of skin cancer prevention, which is worth considering for a room where you spend hours in direct sun.
What most homeowners get wrong about sunroom tinting
The most common mistake I see is homeowners choosing a film based on how dark it looks on the product card rather than what the SHGC number actually says. A very dark film can look aggressive and still let through more heat than expected if it’s a cheap dyed product with no real infrared rejection.
The second mistake is skipping the ceiling. Overhead glass admits more heat per square foot than any vertical window in the room, and it’s the panel most homeowners ignore because it’s out of sight. If your sunroom has a glass or polycarbonate roof and you’re only filming the walls, you’re addressing maybe half the problem.
My recommendation: start with a spec sheet, not a sample swatch. Read the SHGC first, then the VLT, then ask about the warranty. The visual appearance is the last thing to decide, not the first.
Tintadvantage: professional sunroom film installation in Omaha
That’s where the gap between a DIY kit and a professional install becomes obvious fast.

Tintadvantage installs high-performance ceramic, spectrally selective, and UV-protection window film for residential sunrooms across the Omaha area. The process starts with a free on-site assessment: a technician measures your glass, identifies your glass type, checks your orientation, and recommends the specific film model that fits your goals and budget. No generic quotes, no upselling films your glass can’t support.
Every install comes with both a manufacturer warranty on the film and a labor warranty on the application.
Ready to stop losing your sunroom to summer heat? Schedule your free estimate with Tintadvantage and get a same-week appointment for most Omaha-area homes.
Sources
Use these to verify SHGC and VLT numbers, check warranty fine print, and review installation best practices before you buy or hire.